The art of goldsmithing: A beginner’s guide
Goldsmithing is one of the most fascinating and rewarding crafts, and it has been around for centuries. Whether you’re drawn to the delicate intricacy of a ring, the timeless elegance of a necklace, or the pure creativity of a custom design, goldsmithing offers a world of possibilities for anyone interested in working with metal.
“Goldsmithing is the art of turning raw metal into timeless beauty, where every hammer strike and delicate touch shapes not just the material, but the very essence of creativity.”
But goldsmithing isn’t just about making jewellery—it’s about transforming raw materials into art, combining creativity, precision, and skill to craft something truly unique.
In this guide, we’ll introduce you to the basics of goldsmithing, from the essential tools and materials to the techniques used to create beautiful pieces of jewellery:
- Tools and materials
- Basic techniques
- Getting started
- Rewarding and complex: Goldsmithing is a valuable addition to your crafts
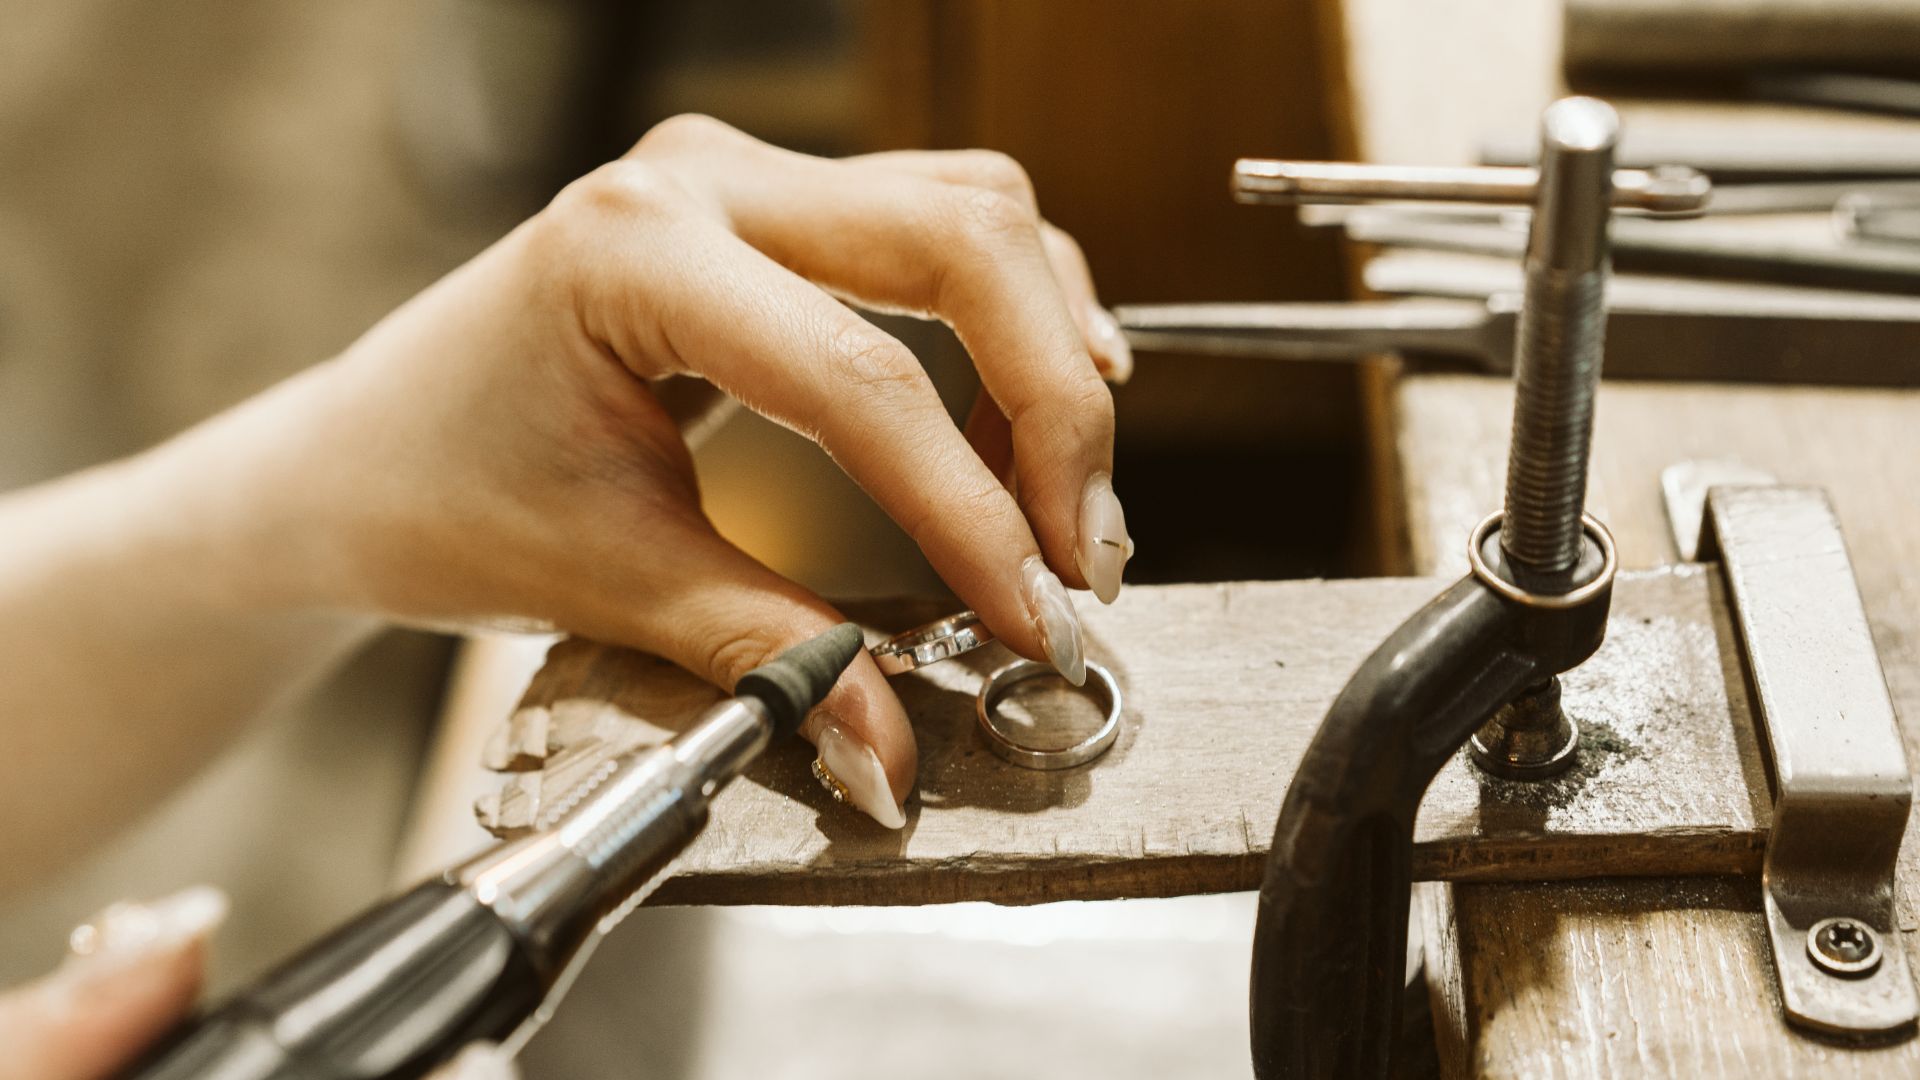
Tools and materials
Before diving into the techniques of goldsmithing, it’s important to understand the tools and materials that goldsmiths use. These are the building blocks that allow artisans to shape, refine, and perfect their work.
Essential Tools
Hammers: Different types of hammers are used for various purposes in goldsmithing. A chasing hammer is used to shape metal, while a riveting hammer is designed for setting stones. A small, lightweight hammer is perfect for fine detail work, such as engraving or texturing the surface of metal.
Pliers: Pliers are another essential tool, used for bending, twisting, and gripping metal. Flat-nose pliers, round-nose pliers, and chain-nose pliers are all common in goldsmithing.
Saws: A jeweller’s saw is a key tool for cutting metal into intricate shapes. It has a fine blade that allows for precise cutting, ideal for creating detailed designs and patterns.
Files: Files are used to smooth the edges of metal after cutting or shaping. They come in various sizes and textures, from coarse to fine, depending on the level of smoothness required.
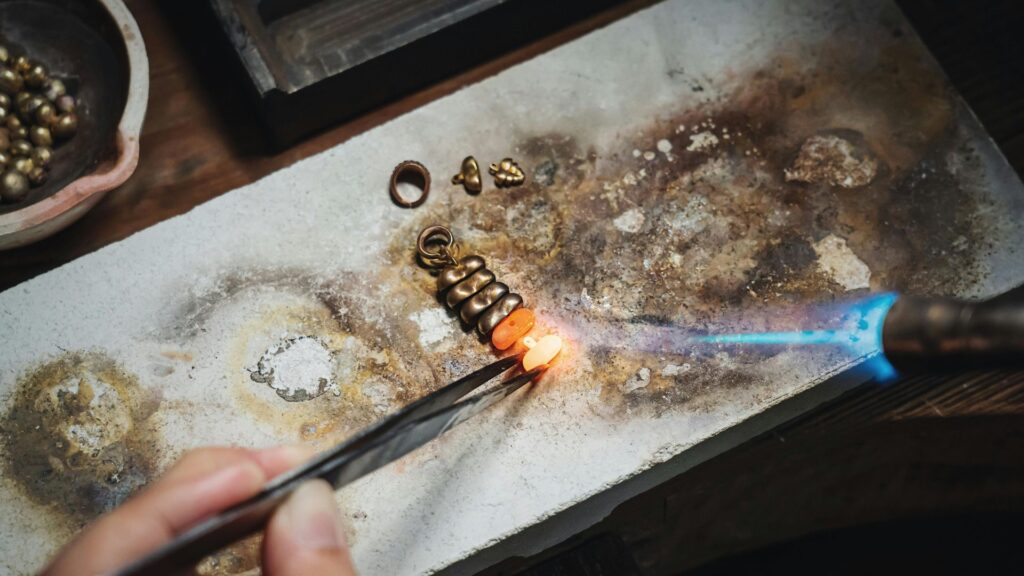
Soldering Tools: Soldering is an essential technique in goldsmithing, and for this, you’ll need a soldering iron or torch, as well as flux and solder. The heat is used to melt the solder, which joins pieces of metal together, allowing for a seamless finish.
Polishing Tools: Once a piece is complete, polishing tools are used to give it a shiny, professional finish. A polishing cloth or motorised buffer will help you achieve that mirror-like shine on your jewellery.
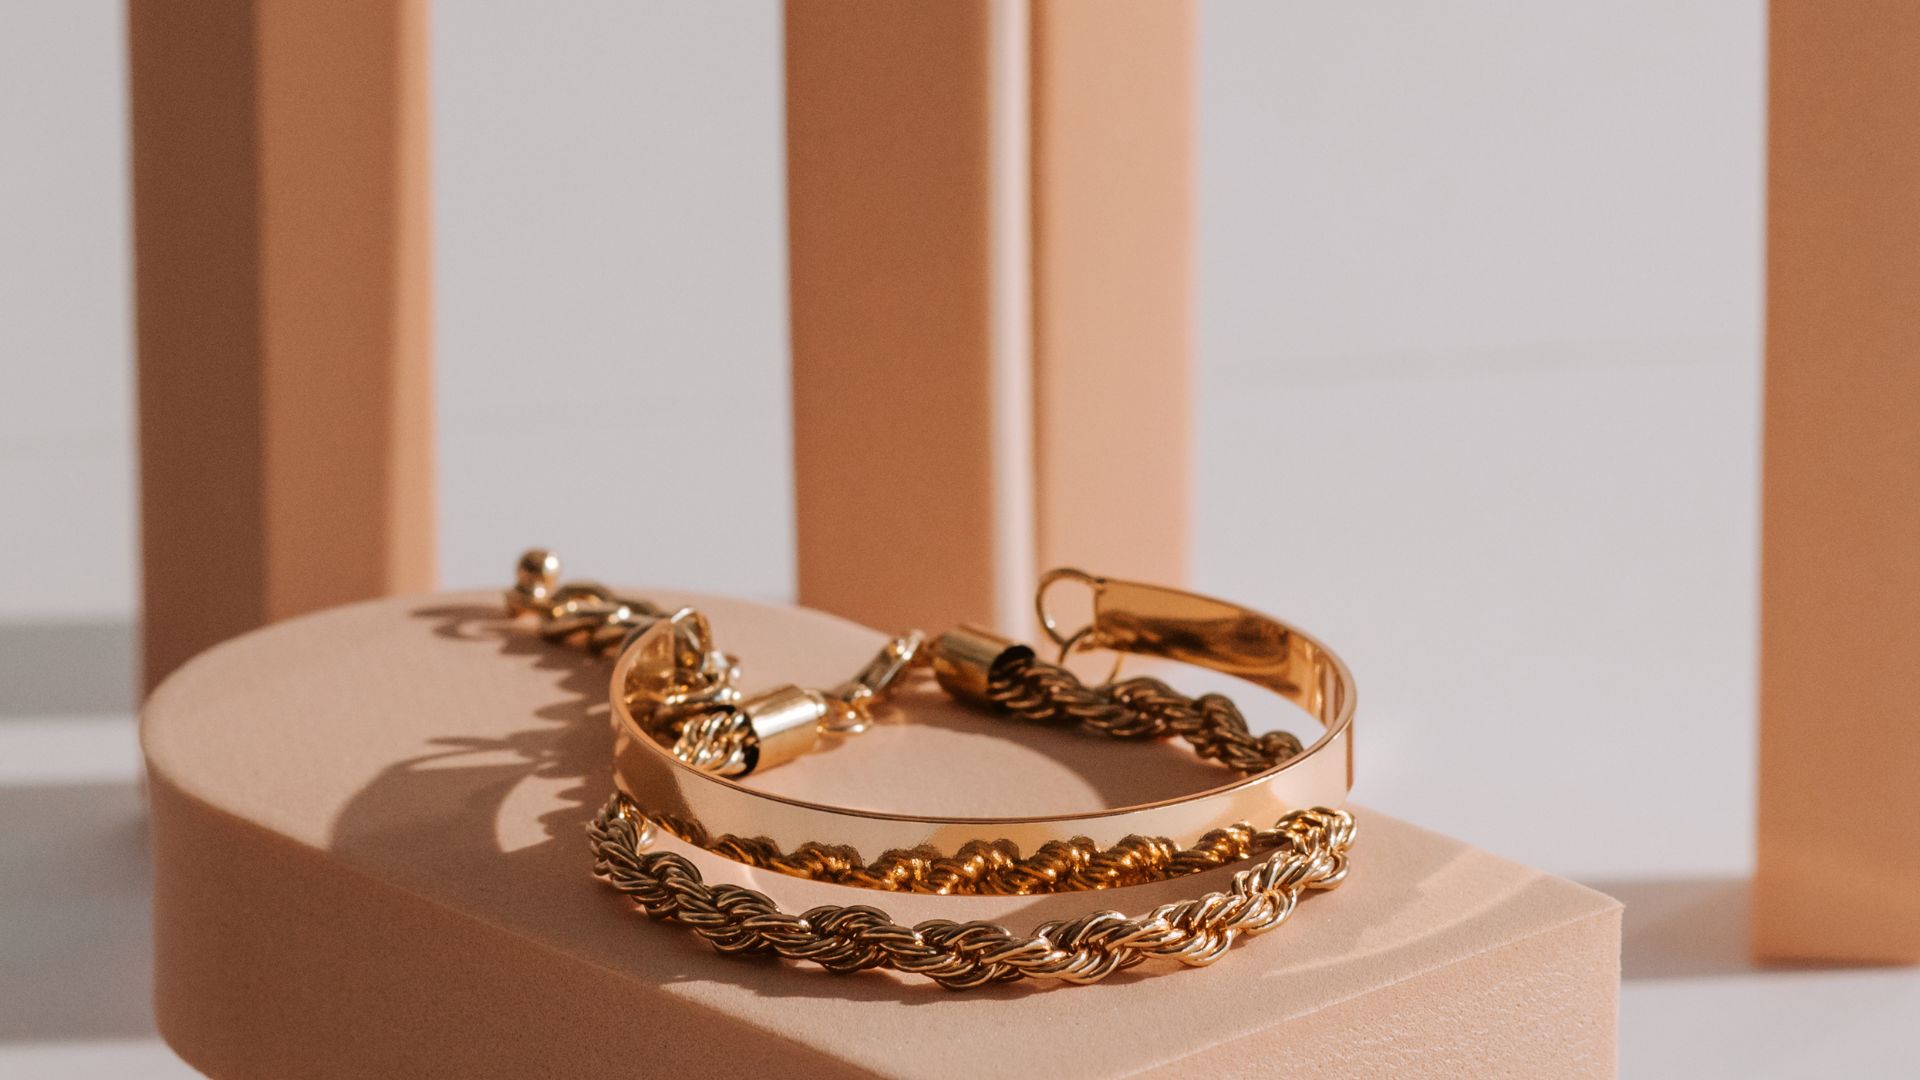
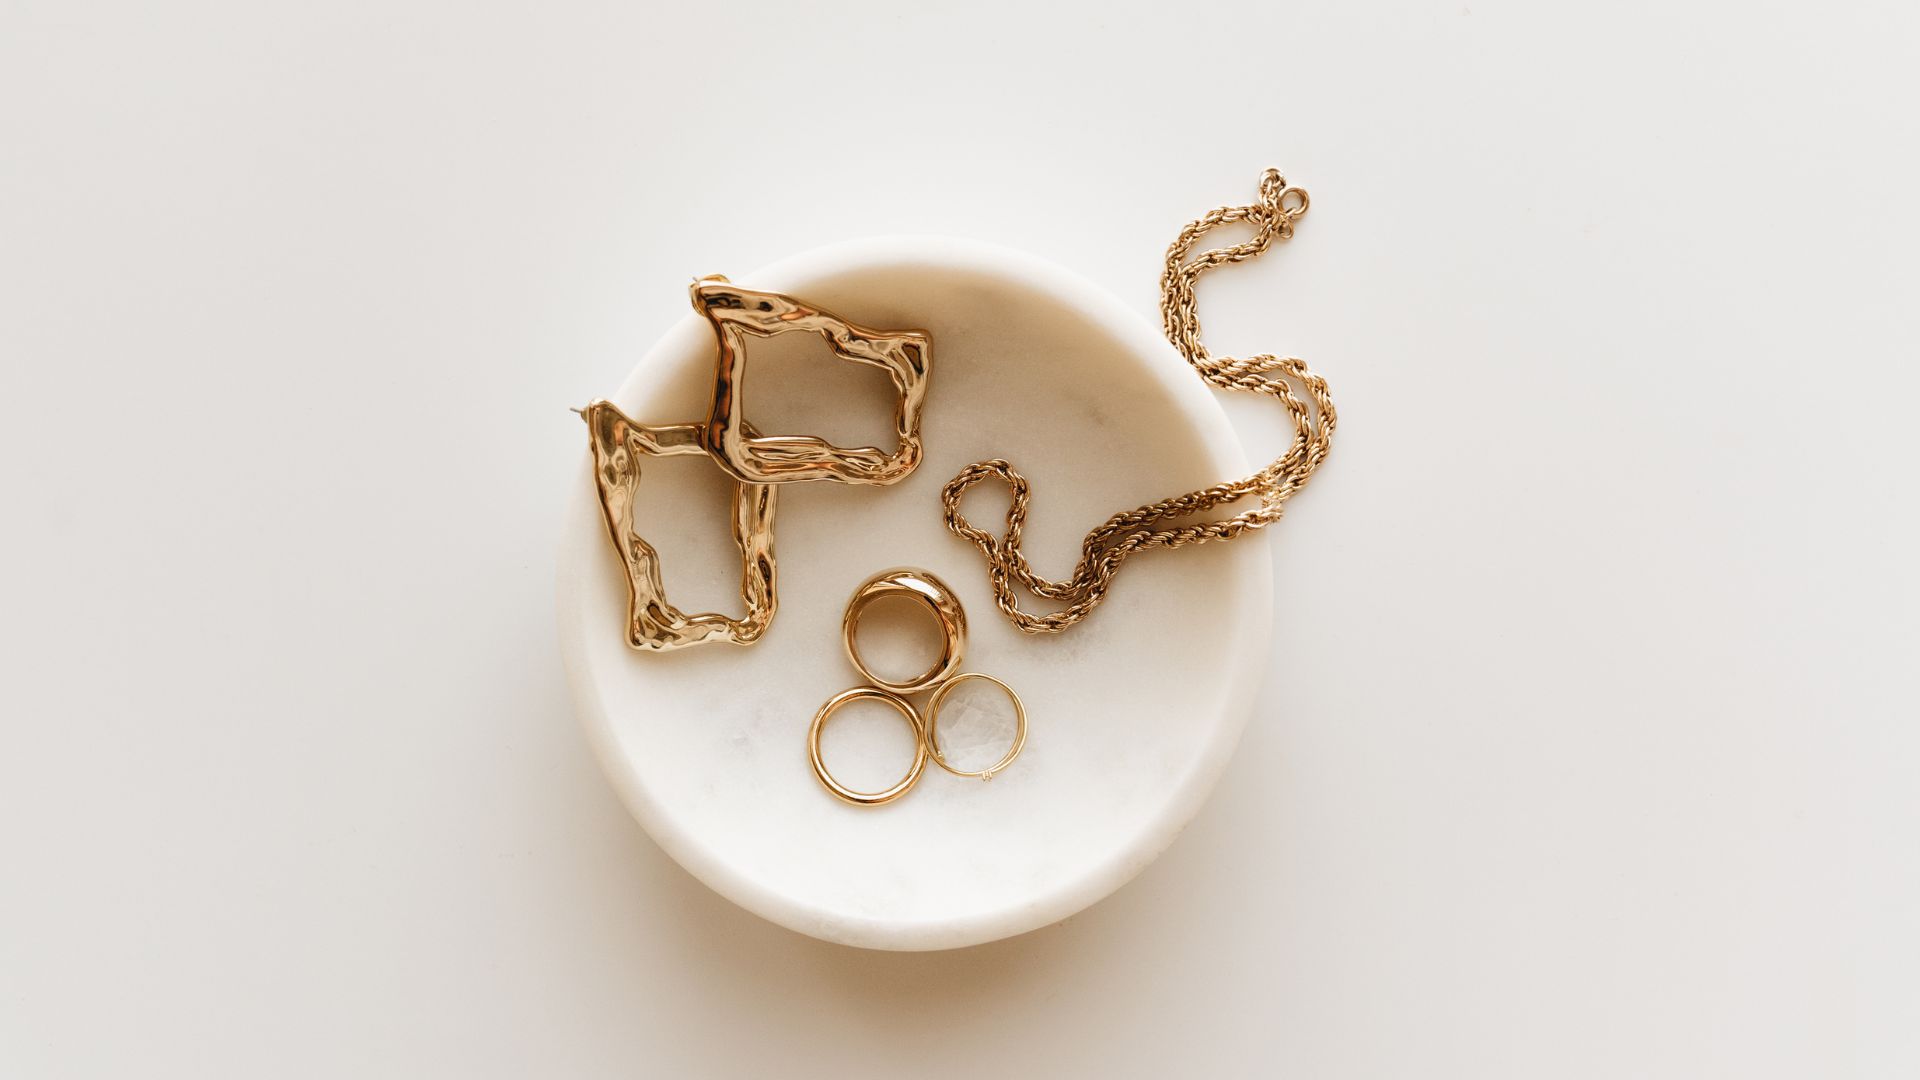
Materials
Goldsmiths use a range of materials, with the most common being precious metals such as gold, silver, and platinum. These metals can be used in their purest form or alloyed with other metals to create variations in colour and durability. For instance, yellow gold is alloyed with copper and silver, while white gold is mixed with palladium or nickel to create a silver-white hue.
Gemstones, beads, and other decorative elements are also important in goldsmithing. You may choose to set diamonds, sapphires, emeralds, or even less traditional stones like opals or turquoise into your designs.

Basic techniques
Now that you’ve got your tools and materials, it’s time to explore some basic techniques that form the foundation of goldsmithing.
Sawing
Sawing is one of the first techniques you’ll likely encounter as a beginner. It’s used to cut metal into shapes, whether it’s for a ring band, pendant, or decorative element. Using a jeweller’s saw, you’ll secure your metal in a clamp and carefully saw along the lines of your design. With practice, you’ll be able to make smooth, accurate cuts that are the basis for your jewellery pieces.
Filing
Once the sawing is done, filing helps refine the shape and smooth out rough edges. A file is a tool with a rough surface that is used to shave away tiny bits of metal. You’ll use a variety of files, from coarse ones for rough shaping to finer ones for delicate finishing work. Filing is essential for creating clean, precise lines and smoothing any jagged edges left after cutting.
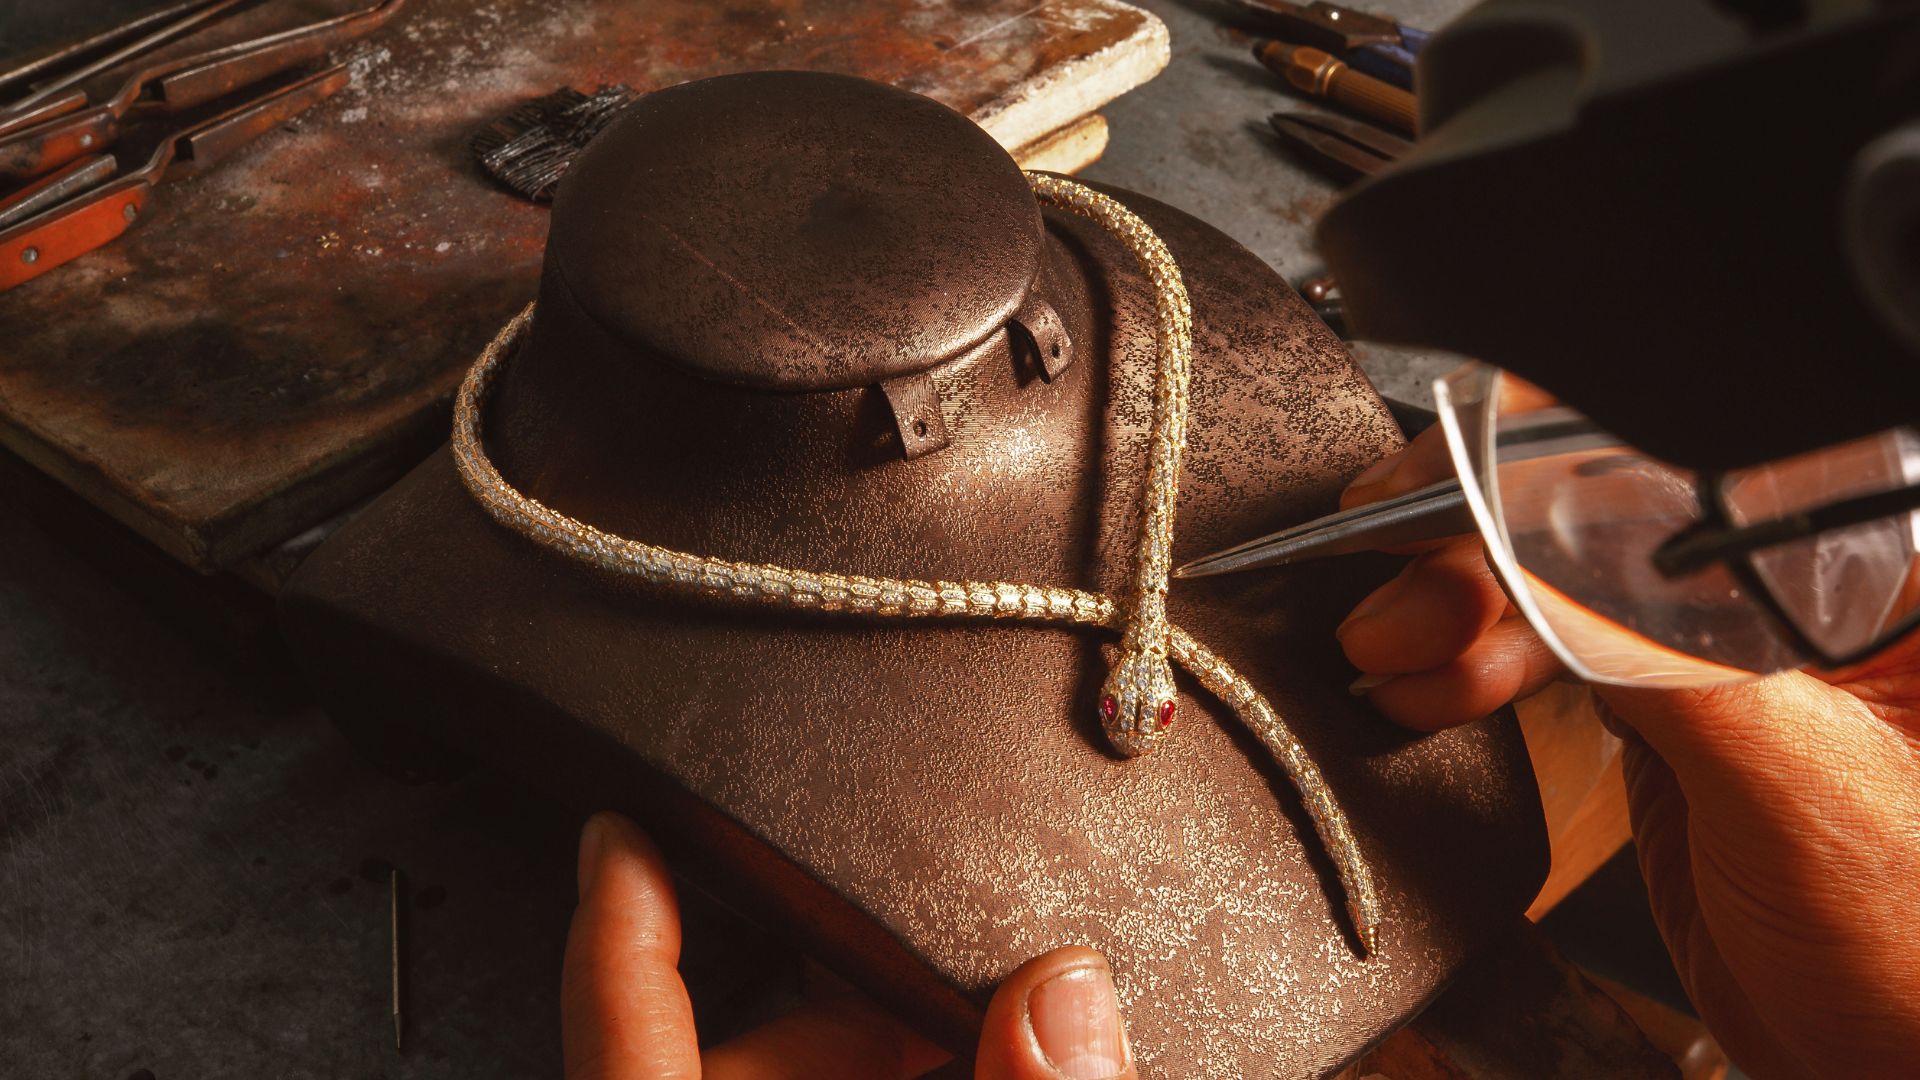
Soldering
Soldering is the process of joining two pieces of metal together. It’s done by applying heat to melt a special metal (solder) that acts as a glue between the pieces. The most common technique is using a torch to heat the metal and melt the solder, allowing the two parts to bond together. The beauty of soldering is in its precision—it allows for seamless joins, which is crucial for creating rings, bracelets, or any other piece that requires multiple components.
Polishing
Once you’ve shaped, filed, and soldered your piece, it’s time to polish it to perfection. Polishing is done by rubbing the surface of the metal with a cloth or using a polishing motor. The goal is to remove any remaining marks, scratches, or oxidation, and leave your piece gleaming. It’s one of the final steps in goldsmithing, and it’s what gives jewellery its professional, high-quality finish.
Getting started
If you’re eager to get started in goldsmithing, there are a few things to keep in mind. First, it’s important to have a dedicated workspace that is safe and well-equipped. Look for a workshop with proper lighting, ventilation, and a sturdy workbench. Having the right tools is also essential—while you can start with just a few basic tools, gradually adding to your collection as you go will help you expand your skillset.
When you’re just starting, don’t be afraid to experiment with simple projects. A basic ring or pendant can be a great way to practice your sawing, filing, and soldering techniques. You’ll also find plenty of online tutorials, books, and courses that can guide you through the process step-by-step.
Another key tip for beginners is to be patient. Goldsmithing requires precision, and it takes time to get the results you want. Start small, take your time, and enjoy the process of learning. Remember, every mistake is a lesson, and each project is an opportunity to grow.
Rewarding and complex: Goldsmithing is a valuable addition to your crafts
Goldsmithing is an incredibly rewarding craft that combines art, technique, and creativity. While it may seem daunting at first, the beauty of goldsmithing lies in its ability to transform raw materials into stunning works of art. With the right tools, techniques, and a bit of patience, anyone can get started in this craft.
Let’s recap:
- Goldsmithing is the art of transforming raw metals into intricate jewellery, requiring a blend of creativity, precision, and skill.
- Key tools include hammers, saws, pliers, files, soldering tools, and polishing equipment, all necessary for shaping, joining, and finishing jewellery.
- Fundamental techniques include sawing, filing, soldering, and polishing, each critical for shaping and refining jewellery pieces.
- Beginners should start with a safe, well-equipped workspace and simple projects like rings or pendants to practice basic techniques. Patience is key to mastering the craft.
- Goldsmithing is a rewarding and creative craft that allows anyone to transform raw materials into beautiful, handmade jewellery with practice and dedication.
So, whether you’re looking to create your own jewellery or simply learn more about the process, goldsmithing is a fantastic way to explore your creativity and appreciate the artistry behind every handmade piece. Don’t be afraid to dive in—after all, the world of goldsmithing is waiting for you to create something beautiful!