Goldsmithing techniques: A step-by-step guide
Goldsmithing is a craft that combines artistry, precision, and skill. It’s the process of turning raw metals like gold into beautiful, intricate jewellery pieces. Whether you’re a beginner looking to start your goldsmithing journey or an experienced jeweller looking to refine your techniques, understanding the step-by-step process is crucial.
In this guide, we’ll explore the most common goldsmithing techniques, from the initial design to the final finishing touches, and how each step contributes to bringing a jewellery piece to life:
- Step 1 – Design: Starting with a blueprint
- Step 2 – Shaping: Forming the metal
- Step 3 – Finishing: Polishing, engraving, and adding details
- The satisfaction of seeing a design come to life
Step 1 – Design: Starting with a blueprint
Every piece of jewellery begins with a concept or idea, and the design phase is where this vision starts to take shape. Goldsmithing, like any art form, begins with creativity, but it’s also about planning and precision. The design stage is essential for creating a blueprint that ensures the final piece is both beautiful and functional.
Goldsmiths often start by sketching out their ideas. This sketch serves as a rough draft that can be adjusted, reworked, and refined. When designing a jewellery piece, factors like size, shape, and the type of stones to be set must be considered. A ring, for example, requires measurements for the band and stone settings, while a bracelet will have its own considerations for length and flexibility.
“Goldsmithing is the art of turning raw materials into timeless treasures, where precision, creativity, and craftsmanship come together to shape pieces that tell a story.”
At this stage, jewellers also need to decide on the type of metal and any gemstones or adornments. The design should take into account how these elements will fit together and complement each other. Some goldsmiths use computer-aided design (CAD) software to create a digital version of their design, providing a more precise model before moving forward.
The design phase not only focuses on aesthetics but also on practicality. Will the piece be comfortable to wear? Will the stone be secure? Is the design suitable for the metal’s properties? These are the kinds of questions that goldsmiths ask during the design stage, ensuring that the final product is both beautiful and durable.
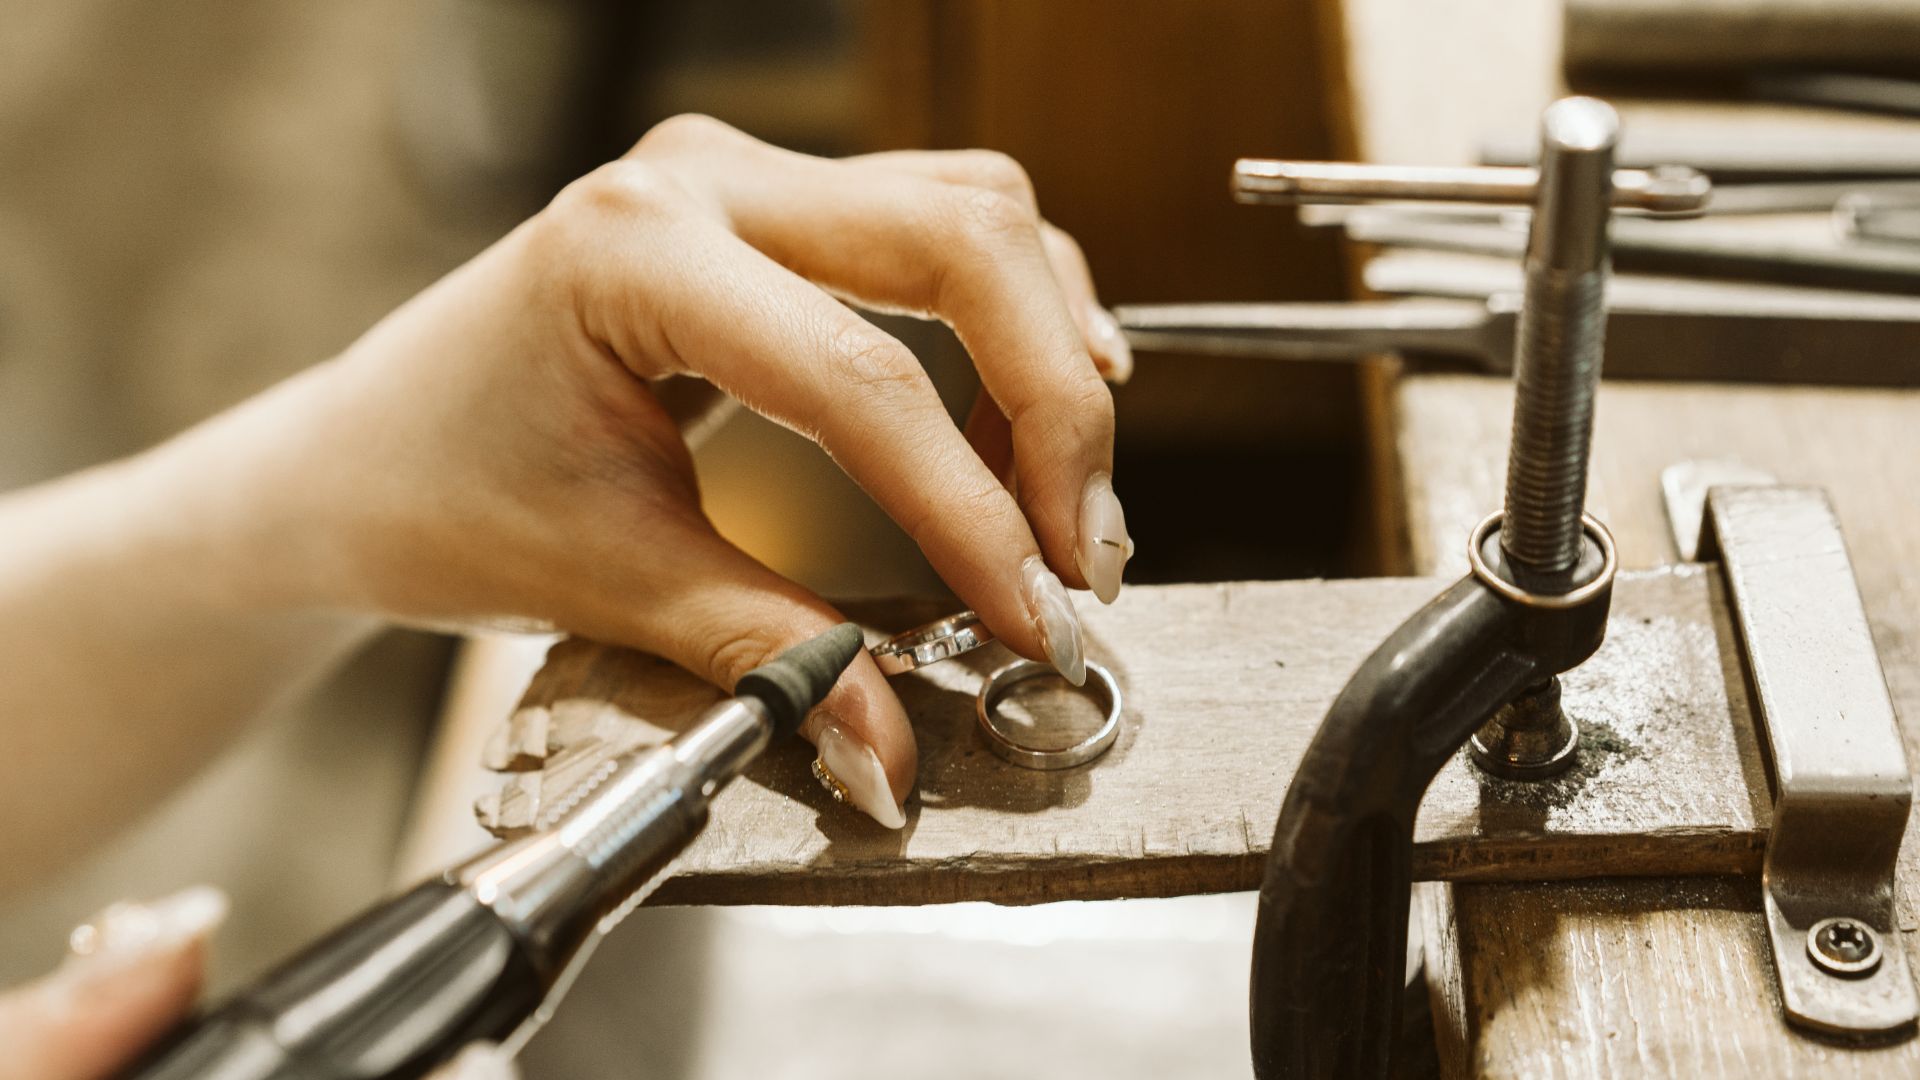
Step 2 – Shaping: Forming the metal
Once the design is finalised, the next step in the goldsmithing process is shaping the metal. This is where the actual construction of the jewellery piece begins. The metal is carefully prepared and shaped into the form of the jewellery according to the design blueprint.
Preparing the metal
The first task in shaping the metal is preparing it for use. Goldsmiths often work with gold that is alloyed with other metals like copper or silver, depending on the desired colour and strength. The gold is then heated in a furnace to make it more malleable. Melting and casting techniques may also be used to create a solid base for the piece. For example, molten gold can be poured into a mould to form a ring band or pendant shape.
Forming the structure
Once the gold is ready, the next step is to begin forming the structure of the piece. Goldsmiths use a variety of tools to shape the metal, including hammers, anvils, and rolling mills. These tools allow the goldsmith to shape the metal into the desired thickness, width, and curve.
A jeweller’s saw is used to cut the metal into specific shapes. For example, a goldsmith might cut a piece of gold into a precise oval or square to form the base of a pendant. After cutting, the metal is then shaped, either by hand or using machines like rolling mills, to create rings, bracelets, or other forms.
Soldering
Soldering is a key technique for joining different metal components together. When pieces of gold are cut or shaped, they are often joined together to create more complex structures, like rings or chains. Soldering involves melting a filler metal (solder) between two pieces of metal, allowing them to bond together. Goldsmiths must be careful with the temperature to avoid overheating the metal, which can cause damage to the structure. The result is a smooth, seamless joint that holds the pieces securely together.
At this stage, the structure of the jewellery piece is formed, but it is still rough and unfinished. The next step is to refine the piece and bring out its true beauty.
Step 3 – Finishing: Polishing, engraving, and adding details
The finishing stage is where the goldsmith adds the final touches to the jewellery piece, giving it the lustre, detail, and refinement it deserves. This is the stage where the jewellery comes to life, as the work of shaping and forming the metal is polished to perfection.
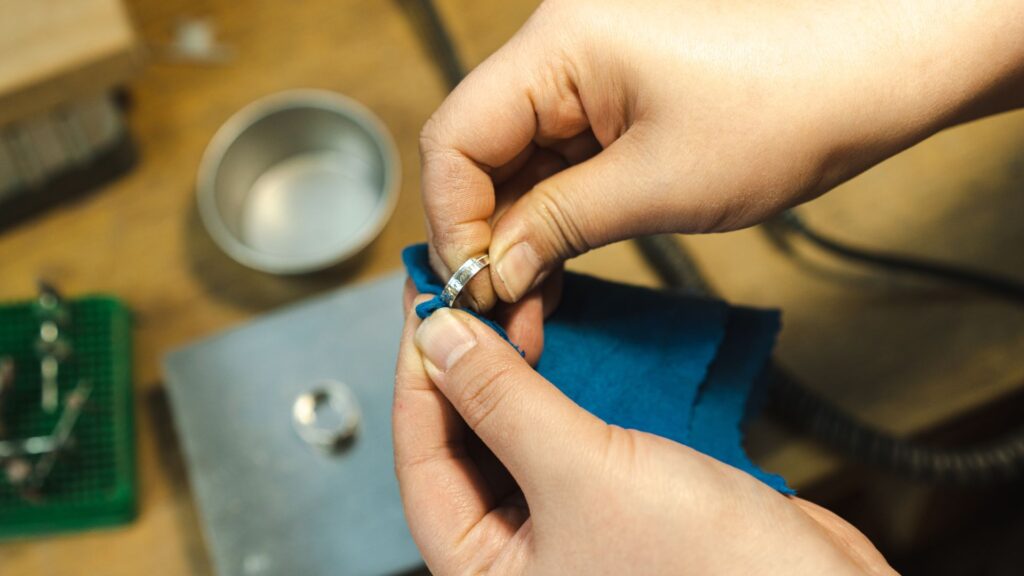
Polishing
Polishing is one of the most important parts of the finishing process. After the piece has been shaped and soldered, it often has scratches, dull patches, or rough edges that need to be smoothed out. Goldsmiths use polishing wheels, rotary tools, and abrasive papers to buff the surface of the jewellery. The goal is to achieve a flawless, shiny finish that enhances the natural beauty of the metal. This step is crucial because the way the metal catches the light plays a significant role in the jewellery’s overall appearance.
Engraving
Engraving adds a unique personal touch to jewellery. Whether it’s initials, a date, or an intricate design, engraving allows the goldsmith to add detail and personality to the piece. Engraving can be done by hand using engraving tools or by machine, depending on the design’s complexity. This is often the stage where custom engravings for customers are added, making each piece truly one-of-a-kind.
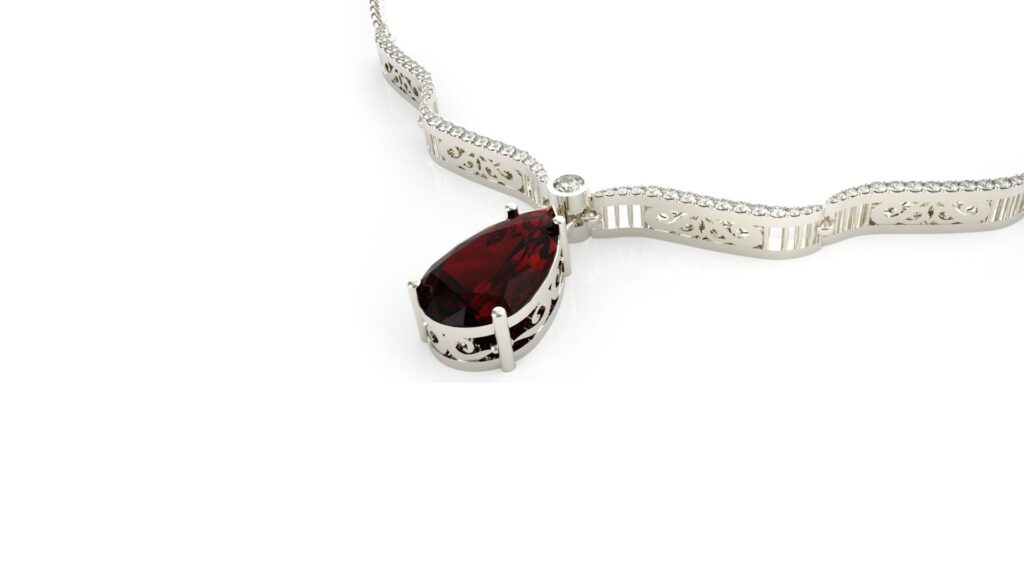
Stone setting
If the piece includes gemstones, the stone-setting process is also part of the finishing phase. Gemstones are carefully set into their metal settings, whether in a prong setting, bezel setting, or other methods. This is a delicate process requiring skill and precision to ensure the stones are securely placed and aligned perfectly. The goldsmith must also ensure that the stone setting enhances the overall design, highlighting the beauty of the gemstone.
The satisfaction of seeing a design come to life
Goldsmithing is a meticulous, step-by-step process that requires skill, patience, and an eye for detail. From the initial design to the final finishing touches, each phase contributes to creating a beautiful, functional piece of jewellery. The satisfaction of seeing a design come to life through goldsmithing techniques is unparalleled, as each step brings the gold and gemstones closer to their final form.
Let’s recap:
- Goldsmithing begins with creating a detailed design or blueprint for the jewellery piece, considering factors like size, shape, and the type of materials used.
- The metal is prepared, melted, and cast into shape using tools like hammers, saws, and rolling mills. Soldering is then used to join metal components together to form the structure.
- The piece is polished to a smooth, shiny finish using polishing wheels and rotary tools. Engraving and stone setting are also added during this stage to provide intricate details and secure gemstones.
- The goldsmithing process brings a design to life, with each step contributing to creating unique, high-quality jewellery that blends artistry with precision.
The craft of goldsmithing allows artisans to turn raw materials into wearable art. Whether you’re designing a custom piece for a client or creating a new collection, the techniques involved in goldsmithing ensure that every piece is unique and of the highest quality. With every hammer strike, every soldered joint, and every polished curve, the goldsmith brings their vision to life, creating jewellery that will be treasured for years to come.